Butterfly Life Cycle for Kids: Free Interactive Lesson & Activities
Teach the butterfly life cycle with our free 5-day interactive lesson! Includes drag-and-drop activities, hands-on experiments, printable worksheets, and vocabulary flashcards for 2nd-3rd grade.

Butterflies are one of nature's most amazing transformations. From a tiny egg to a hungry caterpillar to a beautiful winged insect — the butterfly life cycle is a perfect way to teach kids about growth, change, and the wonders of the natural world.
We've built a completely free interactive lesson that covers the entire butterfly life cycle in 5 days. It includes teaching slides, drag-and-drop activities, hands-on experiments, printable worksheets, and vocabulary flashcards — everything you need for a full week of butterfly science.
The 4 Stages of the Butterfly Life Cycle
1. Egg
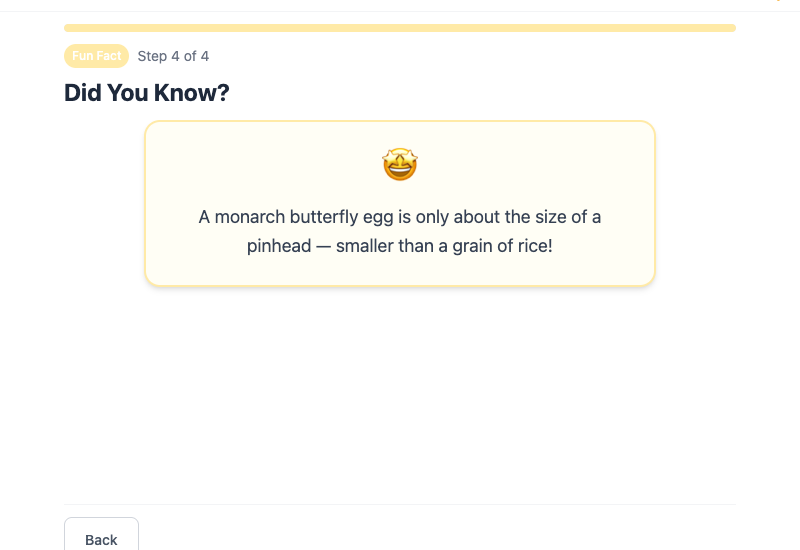
A butterfly's life begins as a tiny egg, usually laid on the underside of a leaf. The egg is incredibly small — about the size of a pinhead! The mother butterfly carefully chooses the right plant so her babies will have food when they hatch.
2. Caterpillar (Larva)
When the egg hatches, out comes a caterpillar! Caterpillars are eating machines — they munch on leaves almost non-stop. As they grow, they shed their skin (like outgrowing old clothes) about 5 times before they're ready for the next stage.
3. Chrysalis (Pupa)
When the caterpillar is big enough, it forms a hard shell called a chrysalis. Scientists also call this stage the pupa. Inside the chrysalis, something incredible happens — the caterpillar's body completely transforms into a butterfly! This process takes about 10-14 days.
4. Adult Butterfly
When the transformation is complete, a beautiful butterfly emerges! It unfolds its wet wings, lets them dry in the sun, and takes its first flight. Butterflies use their antennae to smell, their compound eyes to see, and a long curly tongue called a straw tongue to sip nectar from flowers.
Free Interactive Lesson: Try It Now!
Our butterfly life cycle lesson is completely free — all 5 days, no paywall, no purchase needed. Students can explore it on tablets, Chromebooks, or any device with a browser.
Each day includes teaching slides, interactive activities, vocabulary flashcards, and a fun fact. Here's what the 5 days cover:
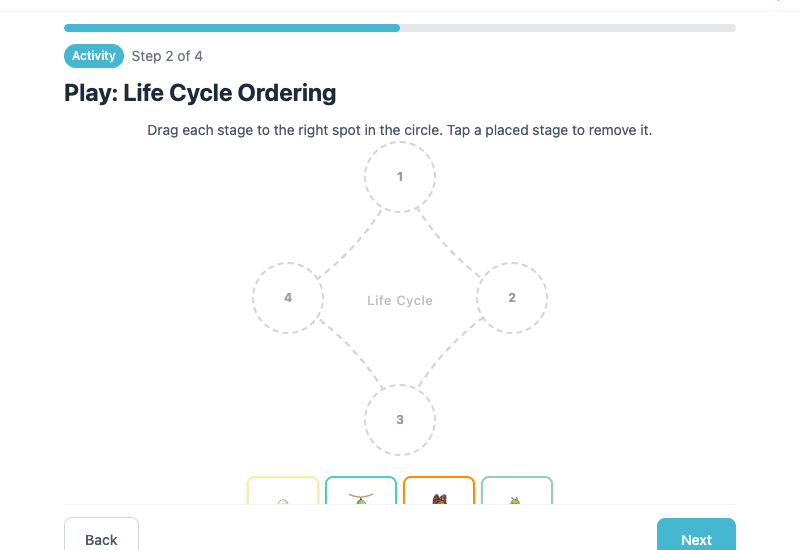
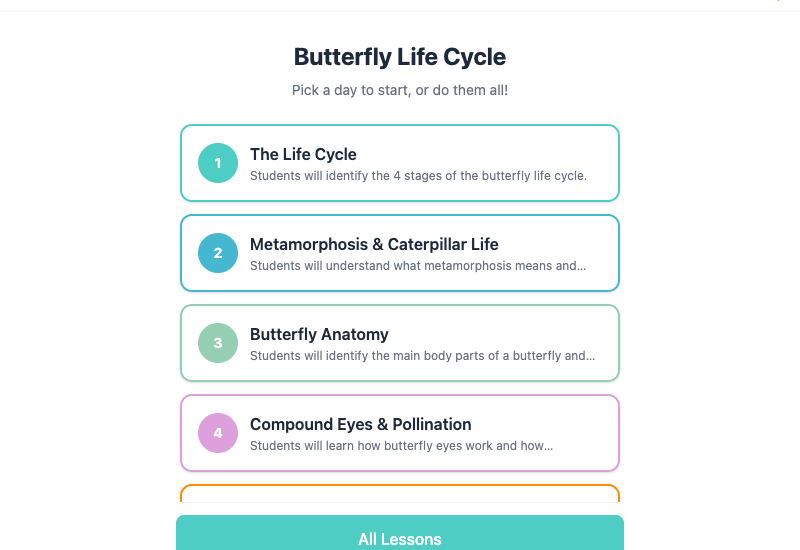
- Day 1: The Life Cycle — learn the 4 stages + drag-and-drop ordering activity
- Day 2: Metamorphosis & Caterpillar Life — what happens inside the chrysalis
- Day 3: Butterfly Anatomy — label the body parts
- Day 4: Compound Eyes & Pollination — how butterflies help plants grow
- Day 5: Butterflies vs. Moths — spot the differences
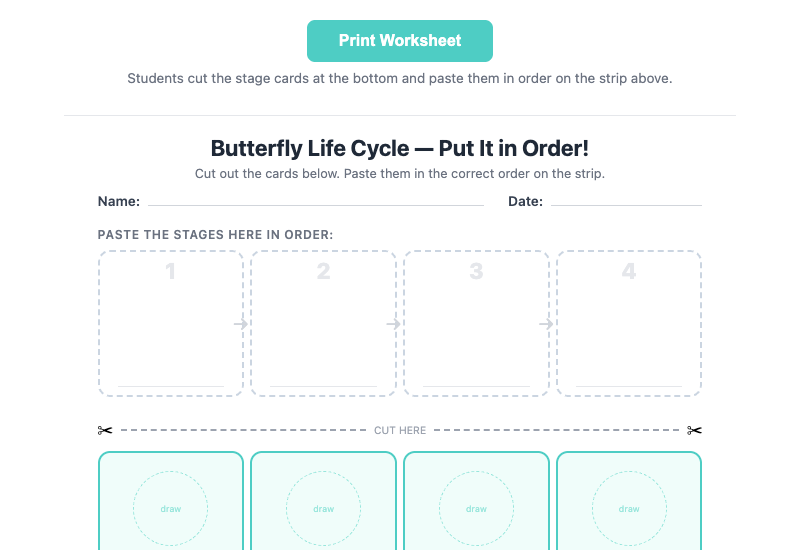
Free Printable: Life Cycle Sequencing Worksheet
Need a paper activity to go with the digital lesson? This cut-and-paste sequencing worksheet is perfect. Students cut out the stage cards and paste them in the correct order.
We also have a butterfly anatomy labeling worksheet and a butterflies vs. moths comparison chart — all free in the teacher dashboard.
2 Hands-On Experiments to Try
These experiments use simple household materials and bring the lesson to life!
Experiment 1: Raise a Butterfly
This is the ultimate butterfly life cycle experience — watch the transformation happen in real time!
Materials: A caterpillar (find one outside or order a butterfly kit), a clear jar or container with air holes, fresh leaves, a small stick or twig, a journal for drawing
What to do:
- Gently place the caterpillar in the container with fresh leaves.
- Add a small stick for the caterpillar to climb and hang from later.
- Replace the leaves with fresh ones every day.
- Watch and draw what you see each day in your journal.
- When the caterpillar hangs upside down in a "J" shape, it's about to form a chrysalis!
- Wait patiently (about 10-14 days) and watch the butterfly emerge!
- Once the butterfly's wings are dry, gently release it outside.
Think about it: How much did the caterpillar eat each day? What did the chrysalis look like?
Fun fact: A caterpillar increases its body weight by about 3,000 times before it becomes a chrysalis!
Experiment 2: Pollination Lab (with Cheetos!)
This one is always a classroom favorite — kids get to eat Cheetos AND learn about pollination!
Materials: Cheetos or cheese puffs (the dusty kind!), 3-4 paper flowers, paper and crayons
What to do:
- Draw and cut out 3 or 4 big paper flowers.
- Place the flowers on a table, spread apart.
- Eat a few Cheetos so your fingers get covered in orange dust — that's your "pollen"!
- Pretend your hand is a butterfly. "Land" on the first flower by touching it.
- Fly to the next flower and touch it too.
- Look at each flower — can you see the orange "pollen" you left behind?
Think about it: Which flower got the most "pollen"? How is this like what a real butterfly does?
Fun fact: Butterflies taste with their feet! When they land on a flower, they can tell if it has yummy nectar.
There's one more experiment in the full lesson — making a butterfly feeder with sugar water! Find it in the teacher dashboard.
Teacher Dashboard: Your Lesson Planner
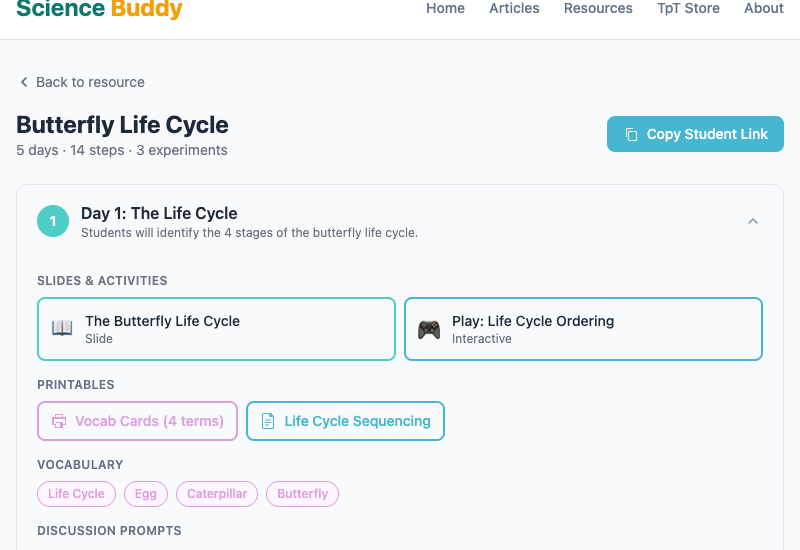
The teacher dashboard gives you everything organized by day — learning objectives, slides to project on your smartboard, interactive activities, experiments with full materials lists, printable worksheets, vocabulary cards, and discussion prompts.

Share the student link with your class — students see a clean, kid-friendly day picker:
What's Included (All Free!)
- 5 daily lesson plans with learning objectives
- 9 teaching slides (project on your smartboard)
- 6 interactive drag-and-drop activities
- 3 hands-on experiments with printable cards
- 18 vocabulary flashcards
- 3 printable worksheets
- Observation journals for experiment days
- Discussion prompts for each day
Start Teaching Today
Everything is free and ready to use right now:
Start the Student Lesson → — Share this link with your class!
Open the Teacher Dashboard → — Plan your week with all materials in one place.
Love this lesson? Check out our Plant Life Cycle and Forms of Energy interactive lessons for more engaging science content!